5 Most Photogenic Tram Stops in Lisbon (Plus the Best Times to Shoot)
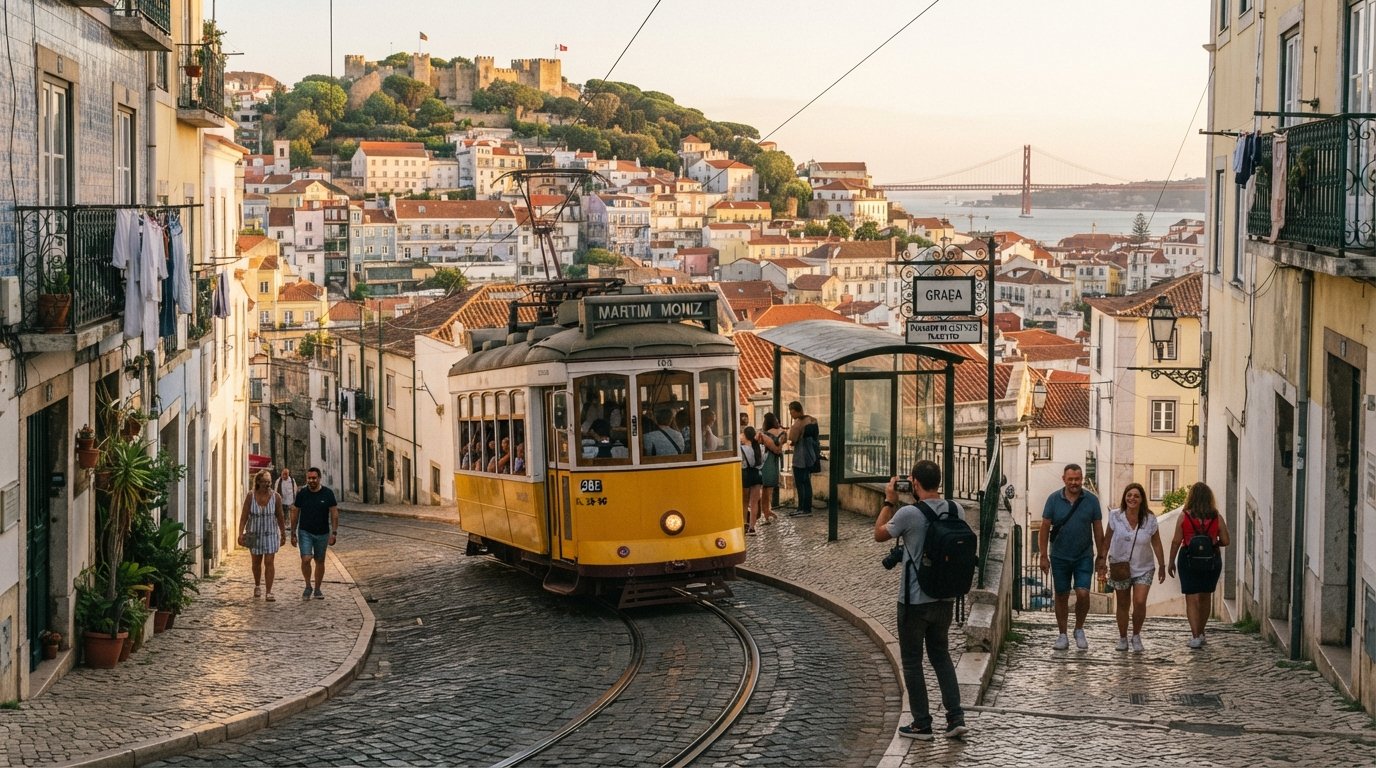
Looking for Lisbon tram photography spots where yellow carriages, old streets, and recognizable landmarks meet in one frame? Graça, Miradouro de Santa Luzia, Sé, Rua da Conceição, and Estrela offer five of the strongest compositions along Lisbon’s historic Tram 28E route.
Each stop brings something different to the picture. Graça delivers steep streets, Santa Luzia frames Alfama’s tiled buildings, Sé places a tram beside Lisbon Cathedral, Rua da Conceição creates long city lines, while Estrela pairs yellow carriages with a grand basilica.
Good timing matters almost as much as location. Early morning usually brings softer light and fewer people, while late afternoon adds warmer tones but heavier street activity. Never step onto active tracks for a photo; Lisbon’s trams often approach quietly around tight corners.
Read More: Lisbon Architecture: 7 Stunning Examples of Manueline and Pombaline Style
Lisbon Tram Photography at a Glance
CARRIS currently lists all five locations as official stops on route 28E, running between Martim Moniz and Campo de Ourique. Stop names may appear in shortened form on route displays, including “Miradouro Sta. Luzia,” “R. Conceição,” and “Estrela (Basílica).”
Swipe sideways to view the full table →
Best Lisbon Tram Stops for Photography
| Tram Stop | Best Photo Feature | Recommended Shooting Time | Typical Crowd Pattern | Nearby Landmark |
|---|---|---|---|---|
| Graça | Tram climbing between narrow façades | Early morning | Low to moderate early | Graça Church and viewpoint |
| Miradouro Sta. Luzia | Alfama streets, tiles, and hillside setting | Morning | Becomes busy after breakfast | Santa Luzia viewpoint |
| Sé | Yellow tram beside Lisbon Cathedral | Early morning or late afternoon | Busy through midday | Lisbon Cathedral |
| R. Conceição | Long tracks framed by Baixa buildings | Morning | Moderate, with regular road traffic | Praça do Comércio |
| Estrela (Basílica) | Tram passing near pale church towers | Late afternoon | Moderate | Basílica da Estrela |
Treat each time as a practical starting point rather than a fixed rule. Summer brings earlier, stronger sunlight, while winter creates longer shadows between Lisbon’s tall buildings. Cloud cover, parked vehicles, roadworks, and tram direction can also change the best composition within minutes.
Graça and Rua da Conceição work well for strong leading lines, while Sé and Estrela suit travelers who want a clear landmark behind the tram. Santa Luzia offers a tighter Alfama scene, though narrow pavements leave little room for tripods or large camera bags.
Check CARRIS route information and current service notices on the morning of the shoot. Tram 28E can face temporary diversions or partial bus replacement during road closures, so saved social-media locations should never replace a live route check.
You might be interested in: What to Pack for a Euro Summer in Lisbon: 12 Wardrobe Essentials
1. Graça: Best for Steep Streets and Local Character
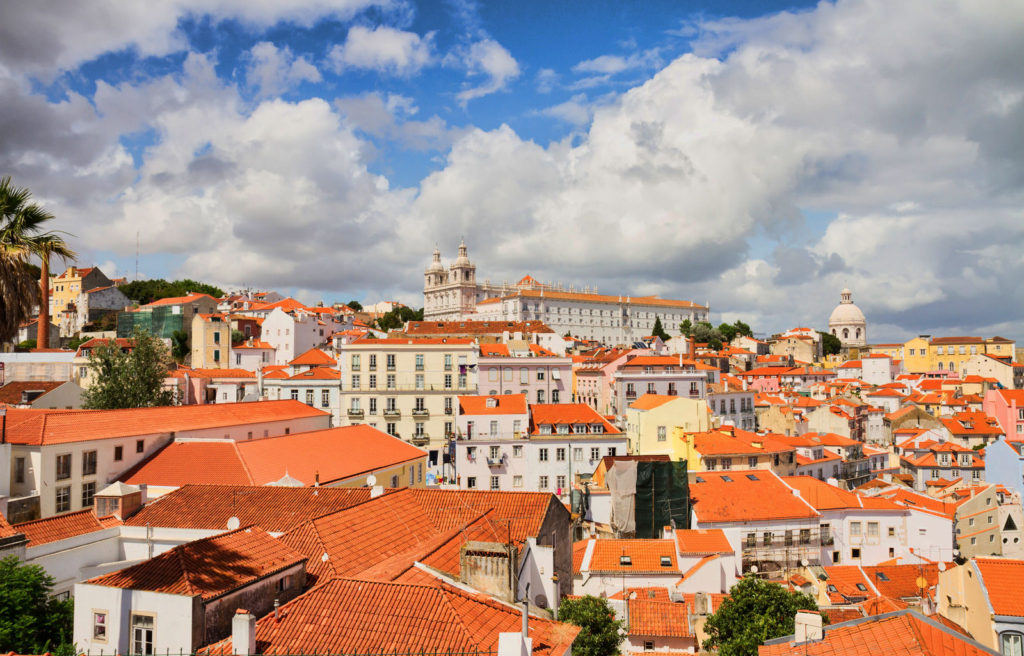
Graça gives Lisbon tram photos extra depth. Tracks climb through narrow streets lined with balconies, tiled walls, small shops, and closely packed homes, creating a scene that feels more natural than a landmark-only shot.
CARRIS lists Graça as an official stop on Tram 28E. Tram 12E also travels through Graça in one direction, so check the route number before assuming every approaching yellow tram follows the full 28E journey.
Best time: arrive soon after morning service begins, once daylight reaches street level. Early hours usually provide cleaner pavements and fewer tour groups, while midday sun can produce bright roofs and dark building shadows in one difficult frame.
Stand on a wide pavement section near the stop and photograph along the rails. A tram climbing toward Graça often creates a stronger picture because front details remain visible against rising tracks and layered façades.
A phone camera works well in vertical mode here. Include rails near the bottom of the frame, leave room above for balconies, and use burst mode as the carriage approaches.
Never wait on the tracks, even when the street looks empty. Trams, cars, delivery vans, and motorcycles share limited space, leaving little time to move.
After shooting, walk toward Miradouro da Graça, located beside Igreja da Graça. Official Lisbon tourism information connects the viewpoint with Tram 28 and highlights its broad city views, making it a useful second photography stop.
Backup angle: frame the tram between two building fronts rather than capturing the full hill. Tighter compositions hide parked cars and work better during busy periods.
2. Miradouro de Santa Luzia: Best for Tiles and Alfama Details
The official stop appears as Miradouro Sta. Luzia on CARRIS route information. Both Tram 28E and Tram 12E serve this section, which helps photographers see more tram movements without waiting only for route 28.
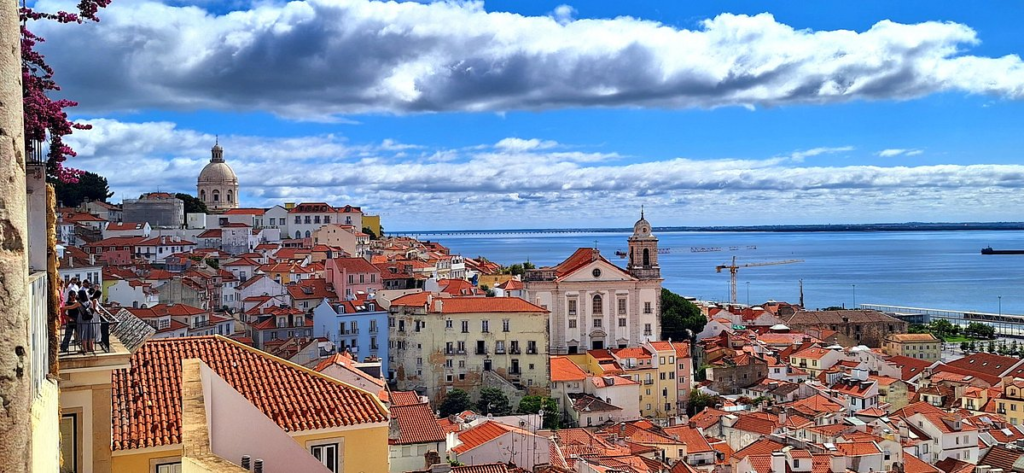
Santa Luzia works best for layered details rather than a wide postcard view. Decorative tile panels, pale walls, overhead wires, red roofs, and glimpses of Alfama can all support the tram without fighting for attention.
Best time: visit during early morning. Softer light controls glare on glazed tiles, while fewer visitors make it easier to find a safe pavement position without blocking people heading toward the viewpoint.
The tram passes through a tight street beside the miradouro. Stand well behind the curb and use a medium or slightly zoomed view to separate the yellow carriage from signs, cars, and pedestrians.
For a phone photo, tap on the tram’s front panel and lower exposure slightly when sunlight appears harsh. Portrait orientation can include overhead cables and sloping buildings, while landscape mode suits a wider Alfama setting.
Visit Lisboa describes Santa Luzia as both a viewpoint and a destination known for decorative tiles. Its terraces also overlook Alfama and several church landmarks, so allow time for photos away from the tram line.
Backup angle: use a tile-covered wall as foreground and wait for a tram to pass behind it. This creates a clear Lisbon connection without stepping near active rails.
Explore more: Azulejo Tile Guide: 6 Spots to See Lisbon’s Most Beautiful Facades
3. Sé: Best for a Classic Cathedral-and-Tram Photograph
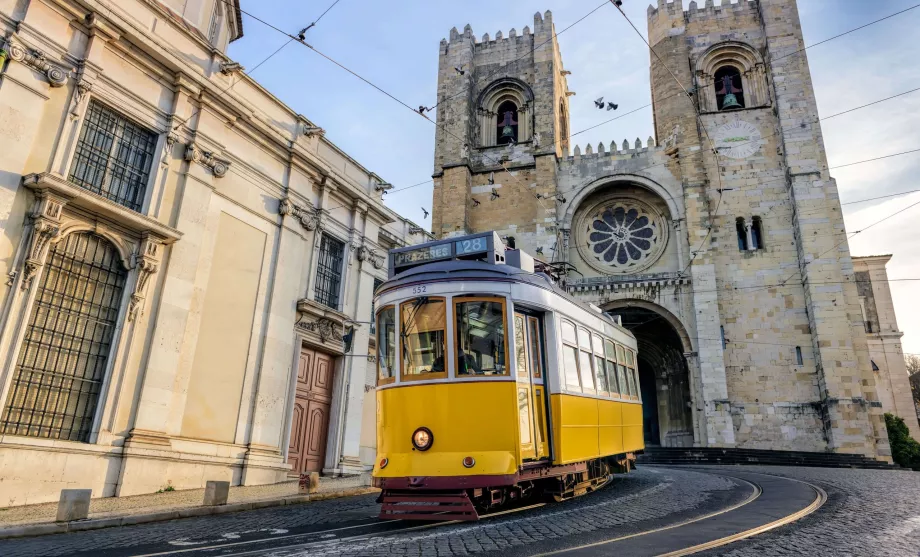
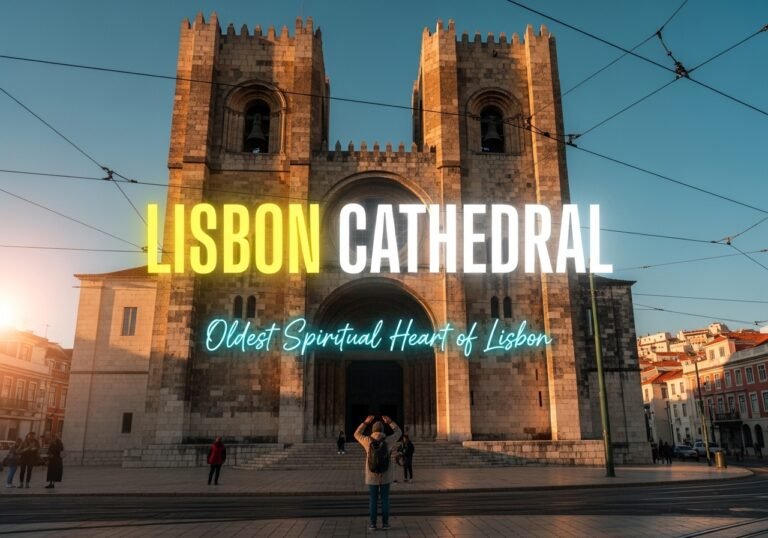
Few Lisbon tram photography spots offer a landmark as clear as Sé. Tram 28E curves past Lisbon Cathedral, placing a yellow carriage, stone towers, rails, and historic architecture within one compact scene.
CARRIS lists Sé on both routes 28E and 12E. Depending on direction, trams may approach from Rua da Conceição or continue uphill toward Limoeiro and Santa Luzia.
Best time: early morning gives photographers more working room and less visitor traffic around the cathedral entrance. Late afternoon may add warmer light, though cars, tour groups, and deep street shadows can make framing harder.
Stand on a proper pavement area opposite or slightly downhill from the cathedral. A tram approaching the bend creates a stronger front-facing shot, while a carriage moving away can reveal more of the cathedral façade.
Use a moderate zoom rather than walking closer. Compression makes the tram appear nearer to the cathedral and keeps road signs or empty pavement from taking over the photograph.
Lisbon Cathedral has more than 800 years of history and remains Lisbon’s oldest major church, according to the city’s official tourism site. That clear architectural identity makes Sé one of the easiest tram locations for viewers to recognize.
Backup angle: focus on the curved tracks, cathedral tower, and tram front. A tighter crop often removes parked vehicles and crowded steps.
4. Rua da Conceição: Best for Long Tracks and Baixa Architecture
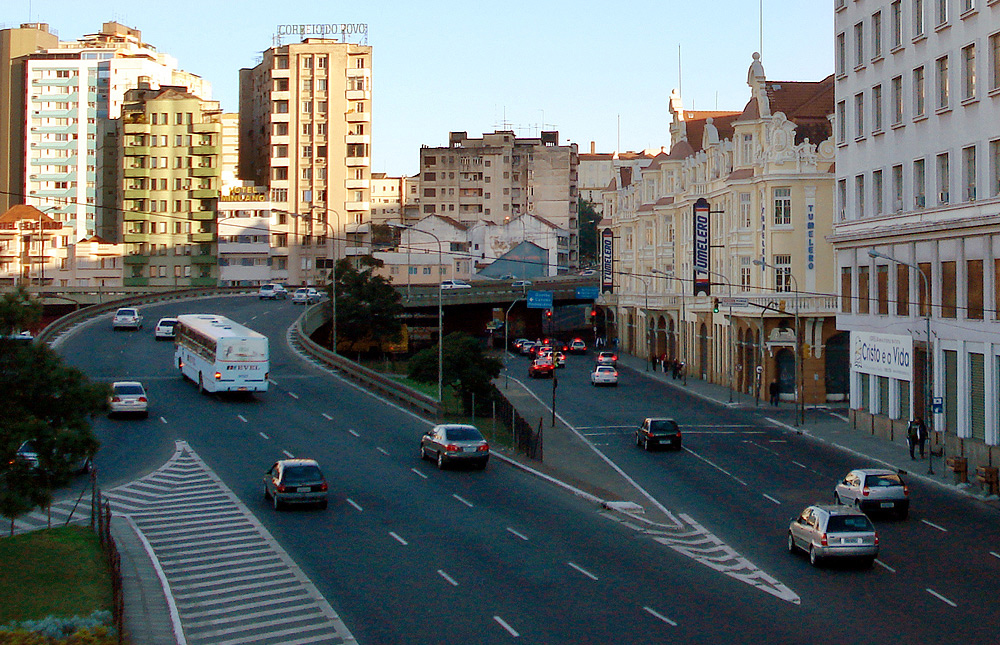
Rua da Conceição provides a different look from Alfama’s hills. Long rails run between tall Baixa buildings, giving photographers strong leading lines and more distance to prepare for an approaching tram.
CARRIS displays the stop as R. Conceição on routes 28E and 12E. Trams connect this part of Baixa with Sé, Chiado, and Lisbon’s eastern hillside neighborhoods.
Best time: morning light usually offers a cleaner, cooler street scene. Around midday, high buildings can split the road into bright patches and dark shade, making exposure difficult.
Stand beside the tracks only where pavement width allows safe waiting. Photograph down the street and let rails guide the eye toward the tram; do not move into the roadway for a centered composition.
A zoom lens helps remove bins, signs, or parked vehicles from the edges. Phone users can try a 2× setting, but digital zoom should be avoided when it noticeably reduces image quality.
Rua da Conceição also works during light cloud cover. Even light reduces harsh contrast between pale façades, dark windows, and yellow tram paint.
Praça do Comércio sits within easy walking distance, making this stop practical for a Baixa photography route. Travelers can also continue uphill toward Sé or walk west toward Chiado rather than boarding a crowded tram.
Backup angle: photograph from a slight side position as the tram crosses the frame. Side views show carriage windows and street scale while avoiding the need to stand directly in line with the rails.
5. Estrela: Best for Basilica Architecture
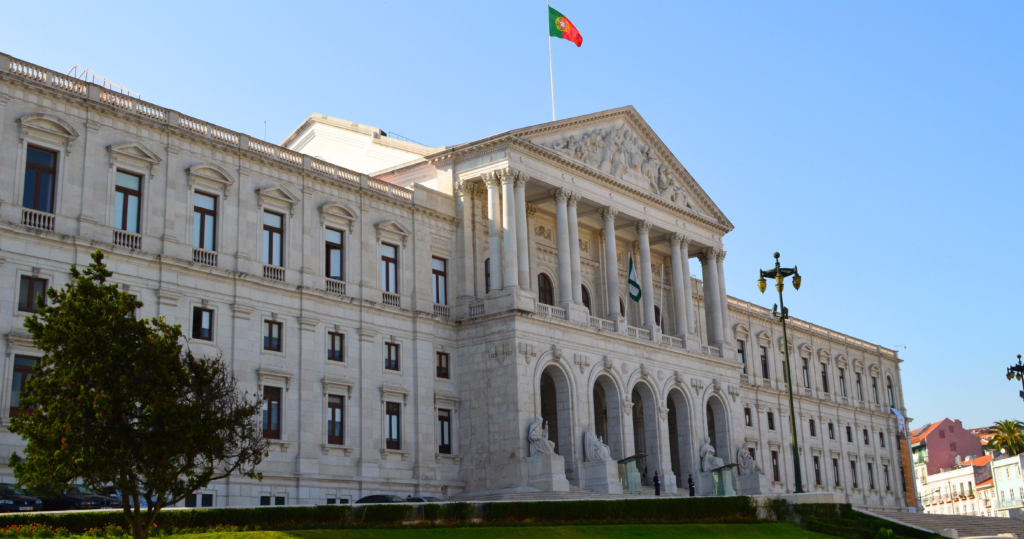
Estrela (Basílica) offers more breathing room than Alfama’s narrow tram streets. Tram 28E passes near Basílica da Estrela, where pale stone, twin bell towers, mature trees, and yellow carriages create a balanced Lisbon scene.
Best time: late afternoon often suits the basilica’s light-colored exterior, though shadows change across seasons. Stand on a wide pavement near Largo da Estrela and use a medium zoom to place the tram against church architecture without entering its path.
CARRIS lists Estrela (Basílica) on both directions of route 28E. Jardim da Estrela sits opposite the church, providing a useful break after photographing the tram.
Backup angle: include trees or park railings in the foreground. Such framing hides traffic while adding depth to a wide photo.
A Practical Lisbon Tram Photography Route
Start at Graça shortly after sunrise, then walk downhill through Santa Luzia and Sé. Continue toward Rua da Conceição before taking public transport west to Estrela.
| Order | Stop | Suggested Time |
|---|---|---|
| 1 | Graça | 30 minutes |
| 2 | Miradouro de Santa Luzia | 25 minutes |
| 3 | Sé | 30 minutes |
| 4 | Rua da Conceição | 25 minutes |
| 5 | Estrela | 30 minutes |
Allow around four to five hours, including walking, waiting, and short breaks. A quicker route can cover Santa Luzia, Sé, and Rua da Conceição in two hours.
Do not depend on Tram 28E for every transfer, since crowded vehicles may pass without space to board. Walking between Graça, Santa Luzia, Sé, and Baixa often saves time.
Tram Tickets, Timetables, and Route Changes
CARRIS fares verified for 2026 include €3.30 for a ticket bought aboard a tram, €1.90 for a CARRIS/Metro ticket, €1.72 with Zapping, and €7.25 for a 24-hour CARRIS/Metro ticket. Validate a loaded travel card when boarding, even when using a day ticket.
Exact tram gaps can change because of traffic, blocked tracks, roadworks, or service replacements. Check CARRIS route 28E and its service-change page on shooting day rather than planning around a saved timetable.
How to Take Better Lisbon Tram Photos
Use burst mode before a tram reaches the chosen frame. Leave empty space in front of its direction of travel, and use rails, overhead wires, or building lines to guide attention toward the carriage.
Phone users should tap the tram to lock focus, then lower exposure slightly under strong sun. A 2× phone lens or moderate camera zoom can remove parked cars and distracting signs without moving closer to active tracks.
Cloudy weather can help by softening shadows between Lisbon’s tall buildings. During harsh midday light, look for side views or tighter details instead of forcing a wide street scene.
Safety and Local Etiquette
Never stand, kneel, or place a tripod on active tram rails. Trams can appear quickly around bends and may pass close to pavements, walls, or parked vehicles.
Keep tram doors, stops, shop entrances, and walking routes clear. Avoid photographing identifiable passengers at close range, and keep cameras or phones secure in crowded streets.
Frequently Asked Questions
Where is the best place to photograph Tram 28 in Lisbon?
Sé offers the clearest classic composition because Tram 28E passes beside Lisbon Cathedral. Graça works better for steep streets, while Rua da Conceição suits long architectural lines.
What time should Lisbon trams be photographed?
Early morning usually provides softer light and more room around Graça, Santa Luzia, and Sé. Estrela may work better later in the day, depending on season and cloud cover.
Can all five tram stops be visited in one morning?
Yes, but allow four to five hours. Photograph the four eastern locations first, then travel west toward Estrela.
Can good Lisbon tram photos be taken with a phone
Yes. Burst mode, exposure control, clean framing, and safe positioning matter more than expensive equipment.
What happens when Tram 28E changes its route?
Trams may turn back early, skip stops, or be replaced by buses along part of the route. Review official CARRIS service notices before leaving accommodation.
Final Thoughts
Among Lisbon’s most photogenic tram stops, Sé delivers the classic landmark shot, Graça offers hill scenes, Santa Luzia adds Alfama details, Rua da Conceição creates strong leading lines, and Estrela pairs trams with grand architecture.
Check CARRIS updates, arrive early, and choose a safe pavement position before waiting for the tram. Good timing beats risky positioning every time.